Before You Begin
SQL Server 2014 Standard 50 Device CAL is a licensing solution designed for companies that require a stable, high-performance database with access from multiple devices. In the Device CAL model, each license is assigned to a specific device, which can be used by any number of users. This is particularly beneficial in environments where multiple people use one computer, such as in shift work, laboratories, or customer service points.
The Standard version of SQL Server 2014 provides a wide range of features, including support for relational databases, advanced security, replication, high availability (AlwaysOn), the ability to integrate with BI services, and support for T-SQL programming. This version is ideal for medium and large enterprises that expect reliability and scalability without the need to invest in Enterprise-class solutions.
Note: CAL (Client Access License) is a licensing document, not an activation key. After purchasing from KluczeSoft, you receive a legal document confirming your right to use 50 Device CALs. You do not receive an activation key — you only activate the SQL server itself.
What You Get with KluczeSoft?
- A SQL Server 2014 Standard license (available in the Server + CAL model)
- Licensing documentation for 50 Device CALs (for archiving in case of an audit)
- Access to SQL Server 2014 Standard installation files
- Detailed installation and configuration instructions
- Technical support for installation and activation
Technical Support and Product Lifecycle
| Support Phase | End Date |
|---|---|
| Mainstream Support | 9 July 2019 |
| Extended Support | 9 July 2024 |
After 9 July 2024, Microsoft will no longer provide security updates, fixes, or technical support for SQL Server 2014. This means increased vulnerability and lack of compliance with the latest security standards. We recommend considering migration to newer versions of SQL Server or using Extended Security Updates (ESU) if modernization is not possible.
For more information, visit the SQL Server 2014 at KluczeSoft page. If you have any questions or need assistance, please contact us at kontakt@kluczesoft.pl or call 00 800 121 1654.
System Requirements
Before proceeding with the installation of SQL Server 2014 Standard, ensure that your server meets the minimum hardware and software requirements. It is recommended to use the latest operating system updates and drivers.
| Component | Minimum Requirements |
|---|---|
| Processor | x64, min. 1.4 GHz (recommended 2.0 GHz or more) |
| RAM | 1 GB (minimum), 4 GB (recommended for production performance) |
| Disk Space | 6 GB of free space (for database installation and system files) |
| Operating System | Windows Server 2012, 2012 R2, 2008 R2 SP1, Windows 8, 8.1, 7 SP1 (x64) |
| Network Card | Required for network installation |
| Display | Minimum resolution 800x600 (recommended 1024x768 or higher) |
| .NET Framework | Version 3.5 SP1 or later |
| Other | Local administrator privileges, internet access (optional) |
Important: SQL Server 2014 is available only in 64-bit version. Installation on 32-bit systems is not possible.
The full list of compatible operating systems can be found in the Microsoft documentation.
Step 1: Preparing the Environment
- Create a backup of important data — before installing SQL Server on a production server, we recommend creating a full backup of the system and data.
- Log in as an administrator — installation requires local administrator privileges.
- Disable unnecessary software — close all unnecessary applications, especially antivirus software that may block the installer.
- Download the installation files — download the SQL Server 2014 Standard ISO image from an official source or from a link provided by KluczeSoft.
- Mount the ISO image — right-click on the ISO file and select "Mount" or use a disk image mounting tool.
Step 2: Running the SQL Server 2014 Installer
- Open the mounted drive with the ISO image.
- Double-click on the
setup.exefile. - In the "SQL Server Installation Center" window, select Installation on the left side.
- Click New SQL Server stand-alone installation or add features to an existing installation.
Step 3: Verifying Requirements and Selecting the Edition
- The installer will run a system requirements verification (Setup Support Rules). Ensure that all items have a "Passed" status.
- If warnings appear (e.g., Windows Firewall), click "Show details", read the messages, and decide whether to continue.
- In the next window, select Product Key — in the case of a version purchased from KluczeSoft, the key should be provided or leave the field blank if you are installing a trial version for later activation.
- Accept the license terms (checkbox "I accept the license terms"). Click Next.
Step 4: Selecting Components for Installation
- In the Feature Selection window, select the components you want to install:
- Database Engine Services (database engine)
- SQL Server Replication
- Full-Text and Semantic Extractions for Search
- Management Tools - Basic/Complete (SSMS)
- Specify the installation folder (default:
C:\Program Files\Microsoft SQL Server) - Click Next.
Step 5: Configuring the SQL Server Instance
- In the Instance Configuration window, select:
- Default instance (default) or Named instance (named, e.g. SQL2014STD)
- Click Next.
Step 6: Configuring Service Accounts
- In the Server Configuration window, set the service accounts:
- SQL Server Database Engine: default
NT Service\MSSQLSERVER(recommended) - SQL Server Agent: default
NT Service\SQLSERVERAGENT
- SQL Server Database Engine: default
- Set the service startup mode to “Automatic”.
- Click Next.
Step 7: Configuring Authentication Mode and Administrators
- In the Database Engine Configuration window, select the authentication mode:
- Windows Authentication Mode (recommended)
- Mixed Mode (Windows + SQL Server Authentication) — requires setting a password for the “sa” account
- Click Add Current User to add yourself as a SQL Server administrator.
- You can add other users by clicking Add....
- Click Next.
Step 8: Installation and Verification
- The installer will display a summary of the selected options. Click Install.
- Wait for the installation to complete. This may take several to several dozen minutes.
- After the installation is complete, click Close.
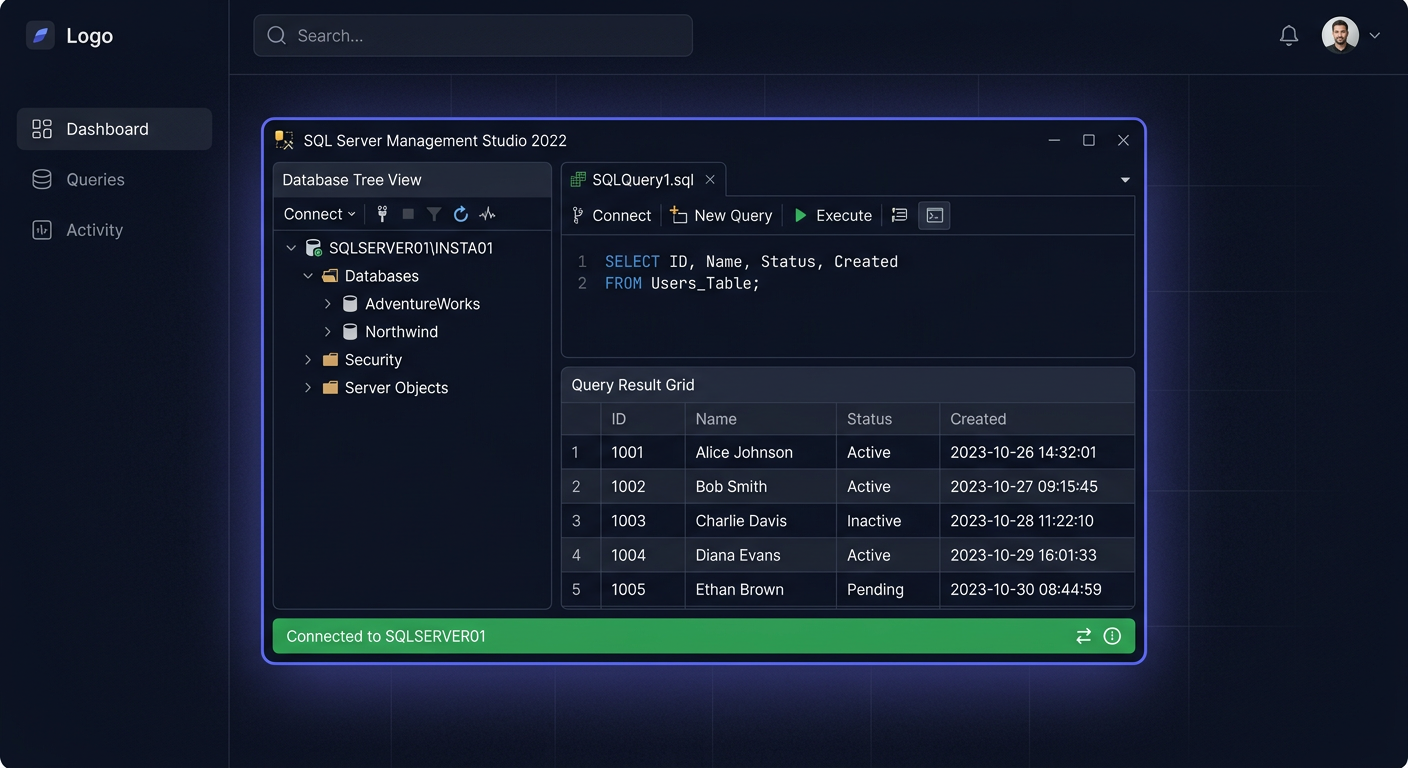
- Run the SQL Server Management Studio (SSMS) tool to connect to the SQL Server instance and verify the installation.
Activating with a Product Key
For SQL Server 2014 Standard, activation occurs during installation by providing the product key. If you installed a trial version or skipped this step, you can activate SQL Server later.
Method 1: Activation via GUI
- Open SQL Server Installation Center (
setup.exefrom the ISO image). - Select Maintenance > Edition Upgrade.
- Enter the SQL Server 2014 Standard product key.
- Follow the wizard's instructions.
Method 2: Activation via Command Line
- Open Command Prompt as an administrator.
- Go to the SQL Server tools directory:
cd "C:\Program Files\Microsoft SQL Server\110\Setup Bootstrap\SQLServer2014" - Enter the activation command (example):
Replacesetup.exe /q /ACTION=EditionUpgrade /PID=XXXXX-XXXXX-XXXXX-XXXXX-XXXXXXXXXX-XXXXX-XXXXX-XXXXX-XXXXXwith your product key.
Verifying Activation
To check the SQL Server license status:
- Open SQL Server Management Studio.
- Connect to the SQL Server instance.
- Execute the query:
If you see “Standard Edition” and the correct version, the activation was successful.SELECT SERVERPROPERTY('Edition'), SERVERPROPERTY('ProductVersion'), SERVERPROPERTY('LicenseType');
If you need help with the activation process or have any questions, please contact us at kontakt@kluczesoft.pl or call 00 800 121 1654.
Configuration after installation
After completing the installation and activation of SQL Server 2014 Standard, we recommend performing several basic configuration steps:
- Install the latest Service Packs and updates — download and install SP3 and the latest Cumulative Updates.
- Configure backups — create a schedule for automatic database backups.
- Configure alerts and monitoring — set up notifications for errors, resource usage, and replication status.
- Secure ports and network access — configure the Windows firewall, restrict access to port 1433 to only trusted IP addresses.
- Create user accounts and roles — assign permissions according to the principle of least privilege.
- Enable connection encryption — configure SSL/TLS for connections to SQL Server.
- Document the configuration — record instance settings, service accounts, backup schedules, and the list of Device CAL.
Troubleshooting
Below, we present the most common issues encountered during the installation and activation of SQL Server 2014 Standard, along with their solutions:
1. Error: "Rule 'Computer domain controller' failed"
Description: The installer detected that the server is a domain controller. Solution: SQL Server 2014 Standard is not supported on domain controllers in production environments. We recommend installing on a dedicated server.
2. Error: "SQL Server setup media does not support the language of the OS"
Description: The installation version is not compatible with the language of the operating system. Solution: Download the SQL Server 2014 installer in a version compatible with the operating system language or use the English version.
3. Activation error: "The PID key is incorrect"
Description: The entered product key is invalid or incompatible with the installation version. Solution: Check that you are using the correct key for SQL Server 2014 Standard. Ensure that you are not entering typos.
4. Error: "SQL Server service failed to start"
Description: The SQL Server service does not start after installation. Solution:
- Check the Windows Event Viewer for detailed errors.
- Ensure that port 1433 is not blocked by the firewall.
- Verify the service account permissions.
5. Error: "Login failed for user 'sa'"
Description: Unable to log in to the "sa" account. Solution:
- Check if Mixed Mode was selected during installation.
- If not, run SQL Server in single-user mode and reset the "sa" password.
6. Error: "Insufficient disk space"
Description: Insufficient free space on the disk during installation. Solution: Free up space on the system partition or specify a different installation directory.
7. Problem: "Cannot connect to the SQL Server instance from another computer"
Description: Remote connection does not work. Solution:
- Ensure that the SQL Server Browser service is running.
- Configure an exception in the Windows firewall for port 1433.
- Check if the SQL Server instance is configured to accept remote connections.
If you need further assistance, please contact us at kontakt@kluczesoft.pl or call us at 00 800 121 1654.
Comparison of versions and prices in KluczeSoft
| SQL Server Version | Licensing Model | Number of CAL | Price (zł) | Application |
|---|---|---|---|---|
| SQL Server 2014 Standard | Server + 50 Device CAL | 50 | 1049 | Small and medium-sized businesses, shift work |
| SQL Server 2014 Standard | Server + 50 User CAL | 50 | 1049 | Remote work, mobile users |
| SQL Server 2014 Standard | Per Core (2 core pack) | - | 3899 | Large environments, high load |
| SQL Server 2019 Standard | Server + 50 Device CAL | 50 | 1899 | New deployments, support until 2029 |
| SQL Server 2022 Standard | Server + 50 Device CAL | 50 | 2499 | Latest features and security |
More information: See the full offer on the SQL Server 2014 page.
Summary
SQL Server 2014 Standard 50 Device CAL is a proven solution for companies that need a reliable database with access from multiple devices. Installation and configuration are relatively simple, but attention to system compatibility requirements and proper CAL license management is necessary. Remember that technical support for this version ended in July 2024 — consider migrating to newer versions or purchasing ESU.
If you have any questions or problems, please contact our technical support team at 00 800 121 1654 or visit the KluczeSoft knowledge base. You can also email us at kontakt@kluczesoft.pl.
Where to buy the original key
Need a legal key? Check the offers at kluczesoft.pl:
All keys are brand new, delivered electronically with a VAT invoice.