Before You Begin
Exchange Server 2019 Standard is the latest on-premises mail server version from Microsoft (prior to the upcoming Exchange SE). It offers better performance, larger mailboxes, and a more modern OWA interface compared to Exchange 2016.
Support Status: Mainstream support ended on 14 October 2025. Exchange 2019 still functions, but Microsoft recommends migrating to Exchange Server Subscription Edition (SE) or Microsoft 365.
Exchange 2019 System Requirements
| Component | Minimum | Recommended |
|---|---|---|
| Operating System | Windows Server 2019 Standard/Datacenter | Windows Server 2019 |
| Processor | 64-bit Intel/AMD x64 | Intel Xeon / AMD EPYC |
| RAM | 8 GB (Edge Transport) / 128 GB max (Mailbox) | 16-64 GB |
| System Disk | 30 GB free | SSD |
| Data Disk | Depends on the number of mailboxes | SSD RAID |
| .NET Framework | 4.8 | 4.8 |
| Active Directory | Forest level Windows Server 2012 R2+ | 2016+ |
| Visual C++ | 2012 + 2013 Redistributable | — |
| UCMA | 4.0 Runtime | — |
Important: Exchange 2019 does not support Windows Server 2016 or 2012 R2. It requires exclusively Windows Server 2019 (or later with the appropriate CU).
Standard vs Enterprise
| Feature | Standard | Enterprise |
|---|---|---|
| Database Limit | 5 databases | 100 databases |
| Maximum database size | 1 TB (recommended) | 1 TB |
| DAG | ✓ | ✓ |
| In-place eDiscovery | ✓ | ✓ |
| Price at KluczeSoft | 1749 zł | 4990 zł |
Step 1: Prepare Windows Server 2019
- Install clean Windows Server 2019 Standard or Datacenter — Desktop Experience (not Server Core)
- Join the Active Directory domain
- Install all Windows Update updates
- Set a static IP address
- Do not install Exchange on a domain controller
Step 2: Install Prerequisites
In PowerShell as Administrator, install the required Windows Server roles and features:
Required roles: AS-HTTP-Activation, NET-Framework-45-Features, RPC-over-HTTP-proxy, RSAT-Clustering and CmdInterface, WAS-Process-Model, and the full set of Web Server (IIS) roles — Web-Asp-Net45, Web-Basic-Auth, Web-Client-Auth, Web-Digest-Auth, Web-Dir-Browsing, Web-Dyn-Compression, Web-Http-Errors, Web-Http-Logging, Web-Http-Redirect, Web-Http-Tracing, Web-ISAPI-Ext/Filter, Web-Lgcy-Mgmt-Console, Web-Metabase, Web-Mgmt-Console/Service, Web-Net-Ext45, Web-Request-Monitor, Web-Server, Web-Stat-Compression, Web-Static-Content, Web-Windows-Auth, Web-WMI.
Additionally, install:
- Visual C++ 2012 Redistributable (x64)
- Visual C++ 2013 Redistributable (x64)
- .NET Framework 4.8
- Unified Communications Managed API 4.0 Runtime
- IIS URL Rewrite Module
Restart the server.
Step 3: Prepare Active Directory
If this is the first installation of Exchange 2019 in your organization:
- Extend the AD schema:
Setup.exe /PrepareSchema /IAcceptExchangeServerLicenseTerms_DiagnosticDataON - Prepare AD:
Setup.exe /PrepareAD /OrganizationName:"YourCompany" /IAcceptExchangeServerLicenseTerms_DiagnosticDataON - Prepare domains:
Setup.exe /PrepareAllDomains /IAcceptExchangeServerLicenseTerms_DiagnosticDataON
Wait 15-30 minutes for AD replication.
If you have Exchange 2016: Exchange 2019 can coexist with 2016 in the same organization. Remove Exchange 2013 first, if it exists.
Step 4: Install Exchange Server 2019
- Download Exchange Server 2019 CU15 (latest version) from Microsoft Volume Licensing Service Center
- Mount the ISO and run Setup.exe as Administrator
- Choose the role: Mailbox role
- Provide the installation path and organisation name
- Enable Malware Protection
- Click Install — takes 30-60 minutes
Restart the server after installation.
Step 5: Activate with a product key
Through Exchange Admin Center (EAC)
- Open
https://localhost/ecpin a browser - Log in with a domain administrator account
- Servers → Servers → double-click on the server
- In the General tab → Enter Product Key
- Enter the 25-character key from KluczeSoft
- Click Save
Through Exchange Management Shell
Use the Set-ExchangeServer command with the -ProductKey parameter and provide the key in the format XXXXX-XXXXX-XXXXX-XXXXX-XXXXX. Then restart the MSExchangeIS service.
Verification
Run Get-ExchangeServer — the Edition field should indicate "Standard".
Step 6: Initial configuration
Create a mailbox
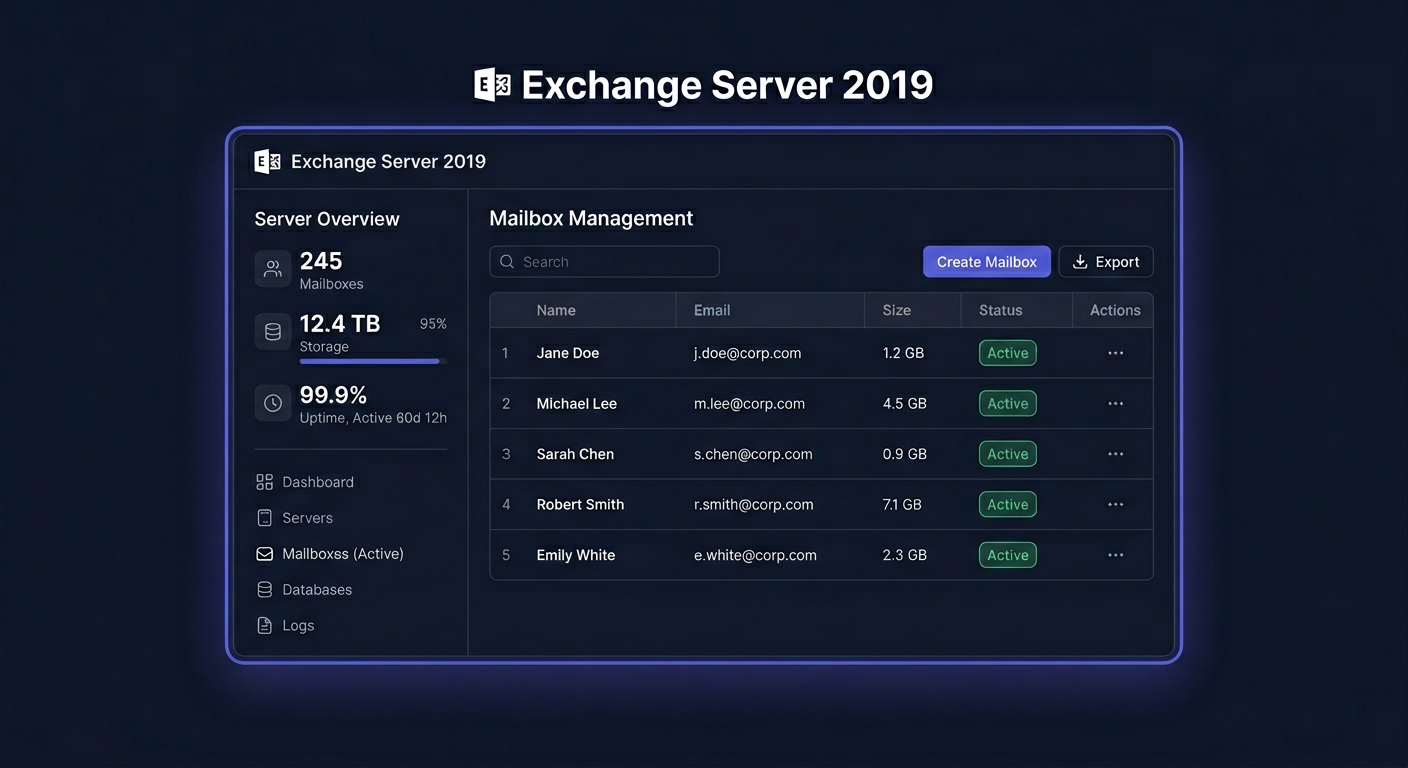
In EAC: Recipients → Mailboxes → + → User mailbox. Fill in the user's data, assign an email alias.
SSL certificate
In EAC: Servers → Certificates → +. For production, use a CA certificate with the names: mail.twojadomena.pl and autodiscover.twojadomena.pl.
DNS records
- MX:
twojadomena.pl → mail.twojadomena.pl - A:
mail.twojadomena.pl → [public IP] - Autodiscover (CNAME):
autodiscover.twojadomena.pl → mail.twojadomena.pl - SPF (TXT):
v=spf1 ip4:[IP] ~all
Firewall ports
- 443 — HTTPS (OWA, EAC, Outlook Anywhere)
- 25 — SMTP (mail reception)
- 587 — SMTP submission
What's new in Exchange 2019 vs 2016
| Feature | 2016 | 2019 |
|---|---|---|
| Search | Older engine | Bing-based search (faster) |
| OWA interface | Older | Modern, responsive |
| Calendar | Basic | Improved sharing, Room Finder |
| RAM limit | 256 GB | 128 GB (better memory management) |
| Windows Server | 2012 R2 / 2016 | Only 2019 |
| Database availability | DAG | DAG with MetaCache Database |
| Management | EAC + Shell | EAC + Shell (improved EAC) |
Troubleshooting
EAC does not open after installation
Check the MSExchangeECPAppPool service. Run iisreset. Use https://localhost/ecp.
The key is not accepted
- Make sure it's an Exchange 2019 key (not 2016)
- Standard ≠ Enterprise — keys are not interchangeable
- Format: XXXXX-XXXXX-XXXXX-XXXXX-XXXXX
Outlook does not connect
Check Autodiscover, SSL certificate, and DNS records. In Outlook: Ctrl + right-click on the tray icon → Test E-mail AutoConfiguration.
Licensing
| License | Price at KluczeSoft |
|---|---|
| Exchange Server 2019 Standard | 1749 zł |
| Exchange Server 2019 Enterprise | 4990 zł |
| Exchange 2019 Standard User CAL | 149 zł |
| Exchange 2019 Standard Device CAL | 149 zł |
| Exchange 2019 Enterprise User CAL | 115 zł |
| Exchange 2019 Enterprise Device CAL | 143 zł |
Example: 20-person company
- 1× Exchange 2019 Standard: 1749 zł
- 20× User CAL: 20 × 149 zł = 2980 zł
- Total: 4729 zł (one-time payment)
Comparison: M365 Business Standard × 20 users = 9380 zł/year. Own Exchange pays off after 6 months.
If you have any questions or need help, please contact us at kontakt@kluczesoft.pl or call 00 800 121 1654.
Where to buy the original key
Need a legal key? Check the offers at kluczesoft.pl:
All keys are brand new, delivered electronically with a VAT invoice.